MultiBIM | MultiCad Event: ArchiCad 17 Launch in Cape Town
We wants to thank every person and company that attended our ArchiCad 17 Launch event in Cape Town on 11 July 2013.
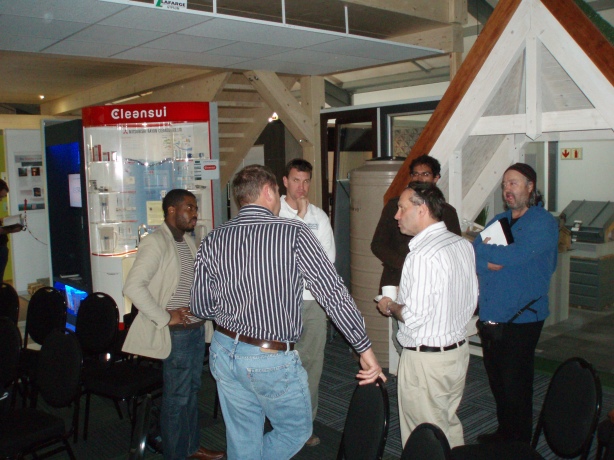
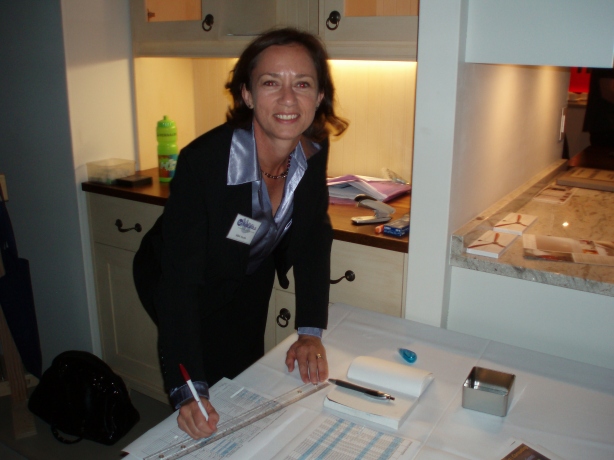
Our whole team, Linda Swanepoel, Nikki Fourie and Francois Swanepoel were excited to welcome so many of our existing clients and some new-comers to this event.
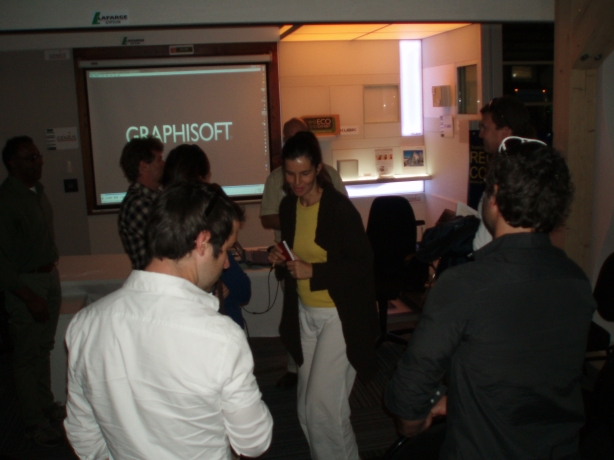
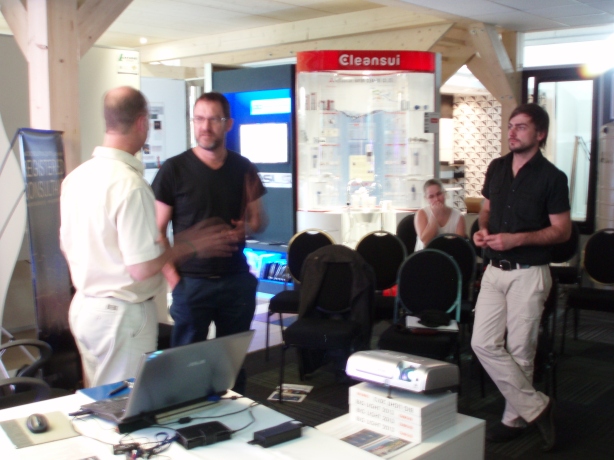
Your enthusiastic attendance and lively participation with Francois’s presentation made it a very special experience for us, as this was the first ArchiCad New Version Launch event that MultiCad hosted independently (no direct involvement of Graphisoft SA).
Even our 3 ArchiCad 17 New Feature training sessions was +/-90% booked out and very well attended. We really appreciate your show of support for our effort to serve you and your company.
You are further invited to contact us with all your software needs in ArchiCad, BIMx, EcoDesigner, MEP-Modeler, Artlantis Render or Studio and Cinema 4D.
We can help you with everything from:
- Accredited Software Training for ArchiCad and all ArchiCad Add-ons
- Software Training for Artlantis Render or Studio
- Technical User Support for ArchiCad and Artlantis. We can even help you with Sketchup questions and some collaboration queries related to Revit workflows. Although our first commitment will always be to serve “SSA Contract” clients, we also serve “non-SSA” clients as our availability allows.
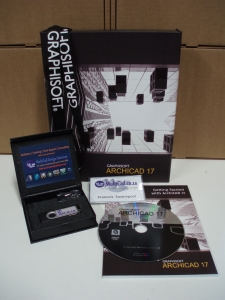
- Software Sales for ArchiCad, BIMx, EcoDesigner, MEP-Modeler, Artlantis Render or Studio and Cinema 4D.
- BIM Consultant services such as: ArchiCad Template and BIM Standards development, Graphisoft BIM Server and Teamwork management,
- Architectural services for Design, Modeling, Documentation and Rendering or Visualization.
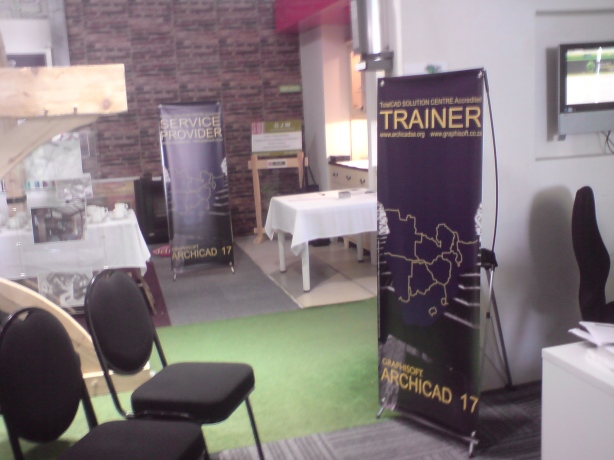
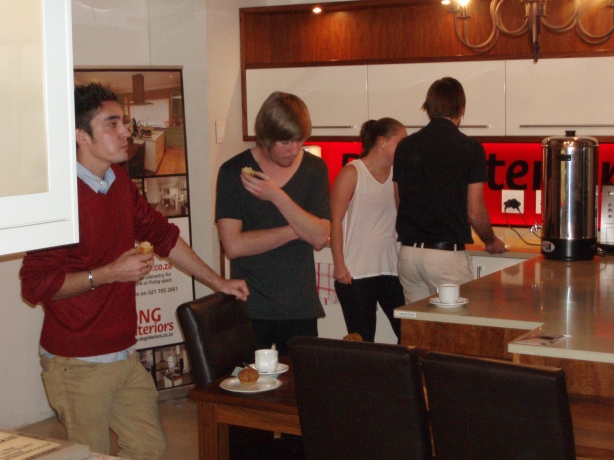
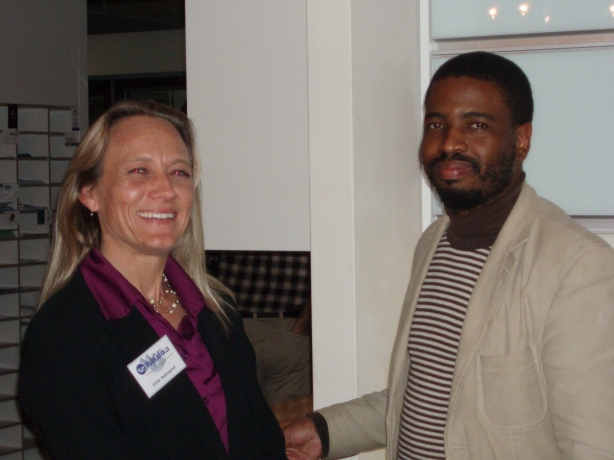
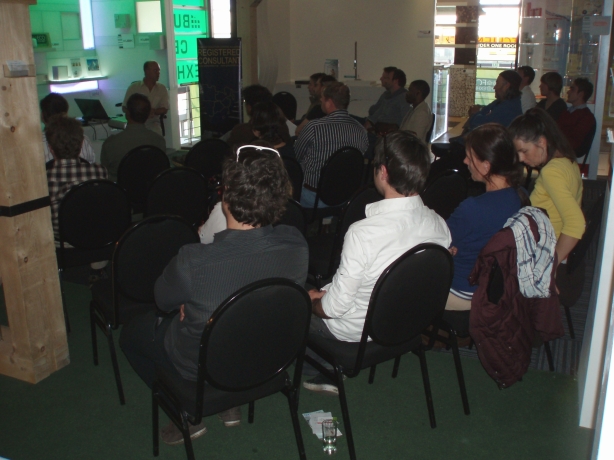
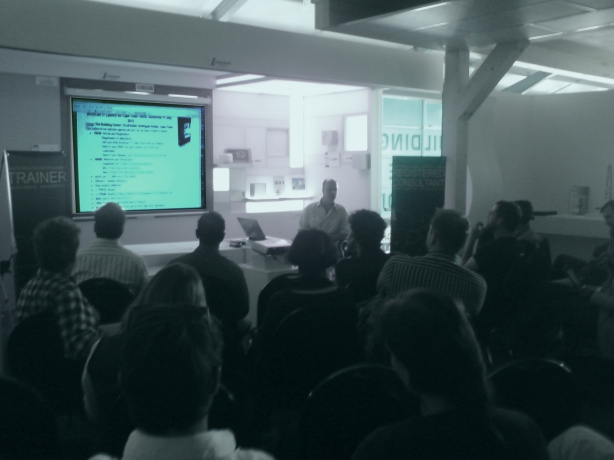
Here are some photos (in no particular order) from these events for you to reflect on:

Visit EcoExhibit at The Building Center
.
.
.
.

.
.
.

.

.
.
.